Setting up Cosmos Gen3
In this tutorial, we'll set up Cosmos Gen3, an operating system development framework that allows you to build operating systems using .NET.
We'll be using Windows 11 and Visual Studio 2026 throughout this tutorial. The instructions may also work with newer Cosmos releases, although some steps could change between versions.
At the time of writing, the latest Cosmos release is 3.0.94.
Installing the .NET SDK
Cosmos Gen3 requires the .NET 10 SDK, which you can download from the official .NET 10 download page.
Download the installer for your system architecture and run it to install the SDK.
Make sure you install the SDK, not just the .NET Runtime. The SDK includes the command-line interface (CLI) and build tools needed to develop and compile .NET applications. The runtime is intended to run applications that have already been built and does not provide the complete development toolchain required by Cosmos.
Downloading and installing Cosmos
Download the installer for Cosmos Gen3 from the official Cosmos 3.0.94 release page.
Windows may display a Microsoft Defender SmartScreen warning when you launch the installer. Before proceeding, make sure you downloaded it from the official release page and that the file is the expected installer.
Once you've verified the download, follow the installer prompts to continue.
You'll first see the license agreement:
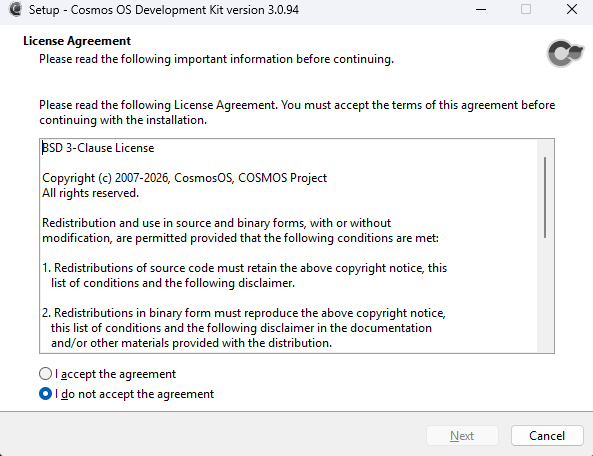
Accept the license agreement and continue through the installer until you reach the additional tasks screen. Here, you can select optional IDE extensions for supported development environments.
Choose the option for your IDE, in this case Visual Studio, and continue.
Before installation begins, the installer will show a final confirmation screen:
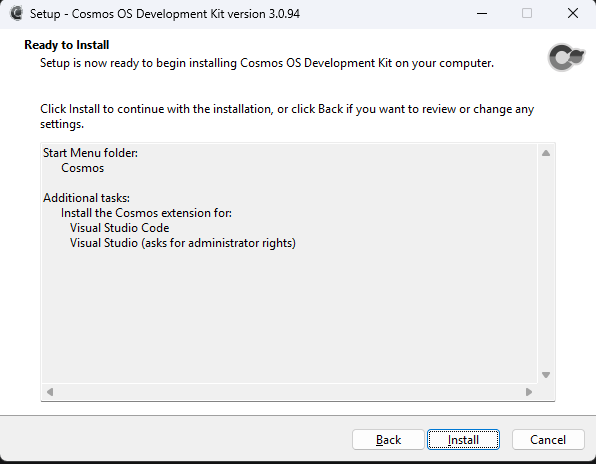
Review your selections and click Install to begin installing Cosmos.